
On Fridays we try to spend some time on our personal projects to learn new things. During the last couple of Fridays a few of us have been exploring the IoT networking protocol LoRa, short for Long Range. The LoRa Alliance has created a LoRaWAN Specification where they describe LoRaWAN as:
[…] a Low Power, Wide Area (LPWA) networking protocol designed to wirelessly connect battery operated ‘things’ to the internet in regional, national or global networks, and targets key Internet of Things (IoT) requirements such as bi-directional communication, end-to-end security, mobility and localization services.
A central component in a LoRaWAN network is the Gateway. Its purpose is to relay all communication between the ‘things’ and the Internet. There are many different gateways that can be purchased online, but we thought we’d try to build our own.
This project involved figuring out what hardware components to use, how to put them together and deciding what software to run.
This post will guide you through the steps we took when we built our LoRaWAN Gateway.
Hardware Components
Our first source of information was this tutorial from The Things Network. From their suggested shopping list we ordered (or dug out from our drawers):
| Part | Comment |
|---|---|
| IMST iC880-SPI | LoRa concentrator board |
| Antenna | Receives 868Mhz Radio from the ‘things’ |
| Pigtail cable | Connects the antenna with the concentrator board |
| Raspberry Pi 2 Model B | Used as the host |
| USB WiFi dongle | So the RPi can communicate with the internet |
| 8Gb MicroSD Card | Containing the RPi OS, Raspbian |
| iC880A LoRaWAN Gateway Backplane | Makes it really easy to connect the concentrator board with the RPi |
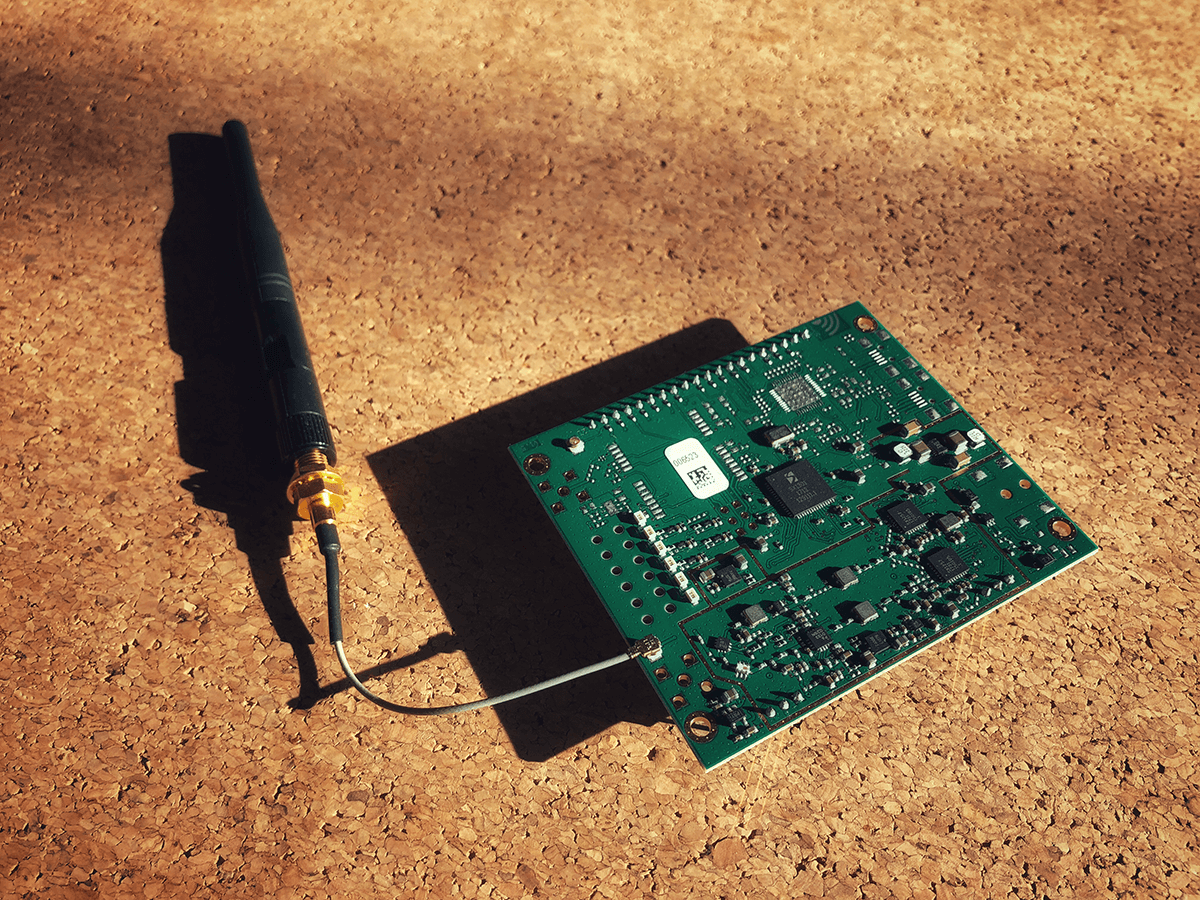 Concentrator board with pigtail and antenna connected
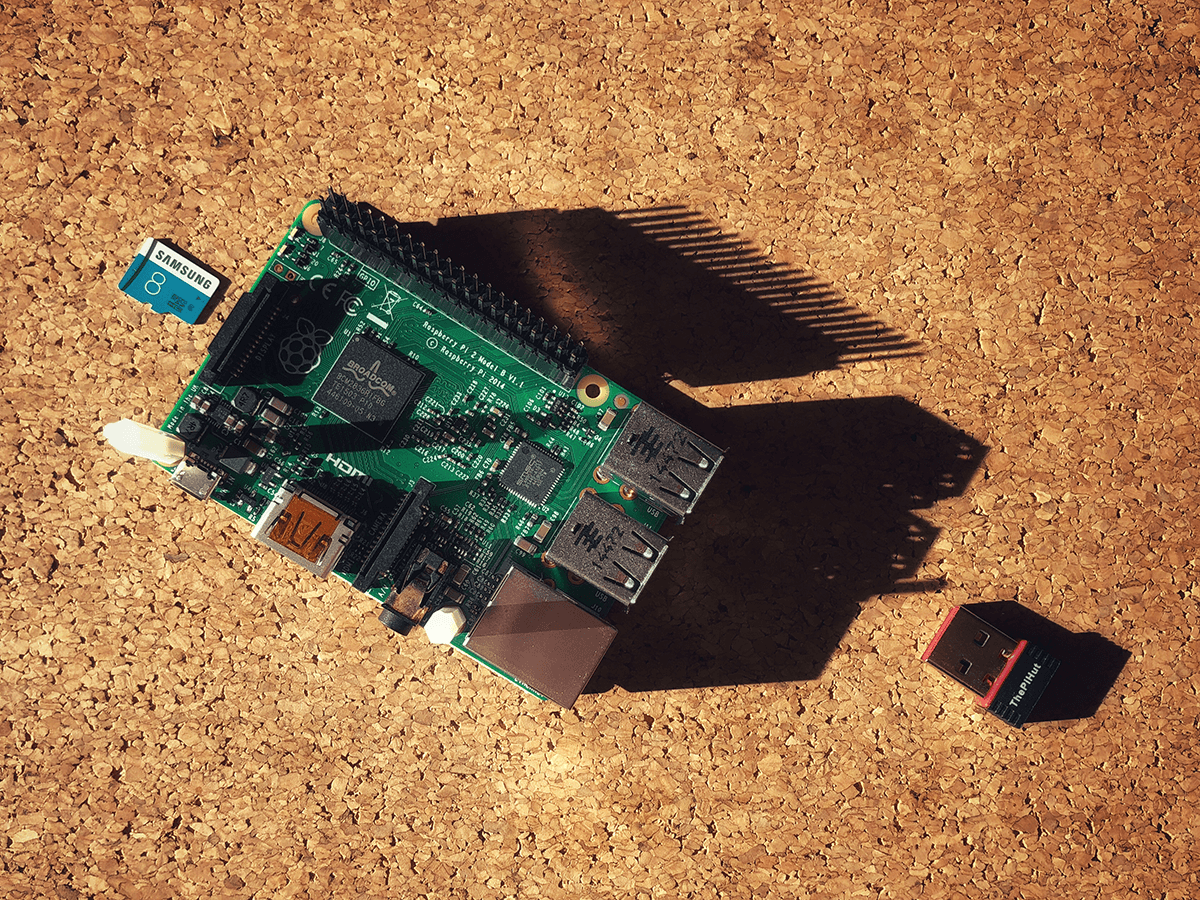 Raspberry Pi, MicroSD Card & WiFi dongle
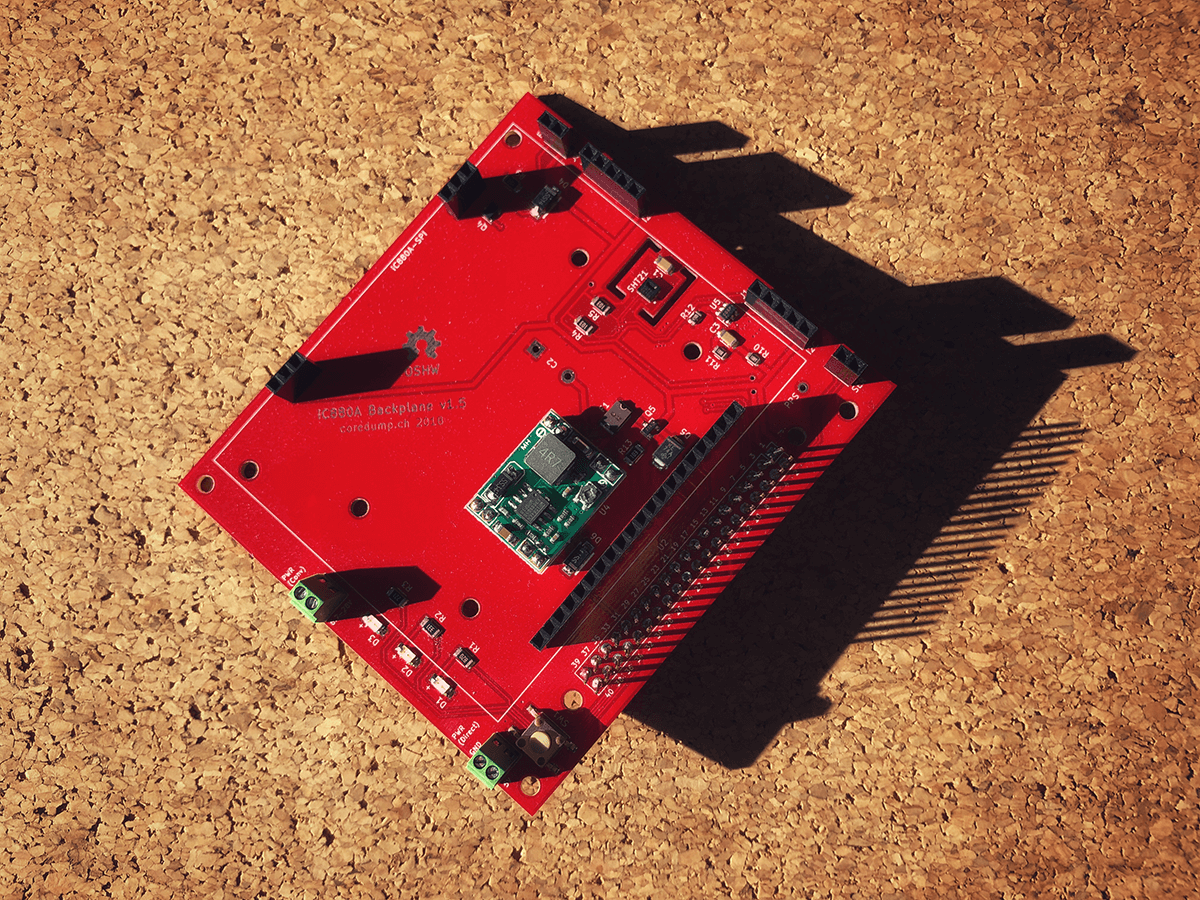 Backplane
Assembly
Putting the hardware together is as simple as assembling a 7 piece LEGO model. Since we have the backplane we don’t need any jumper wires.
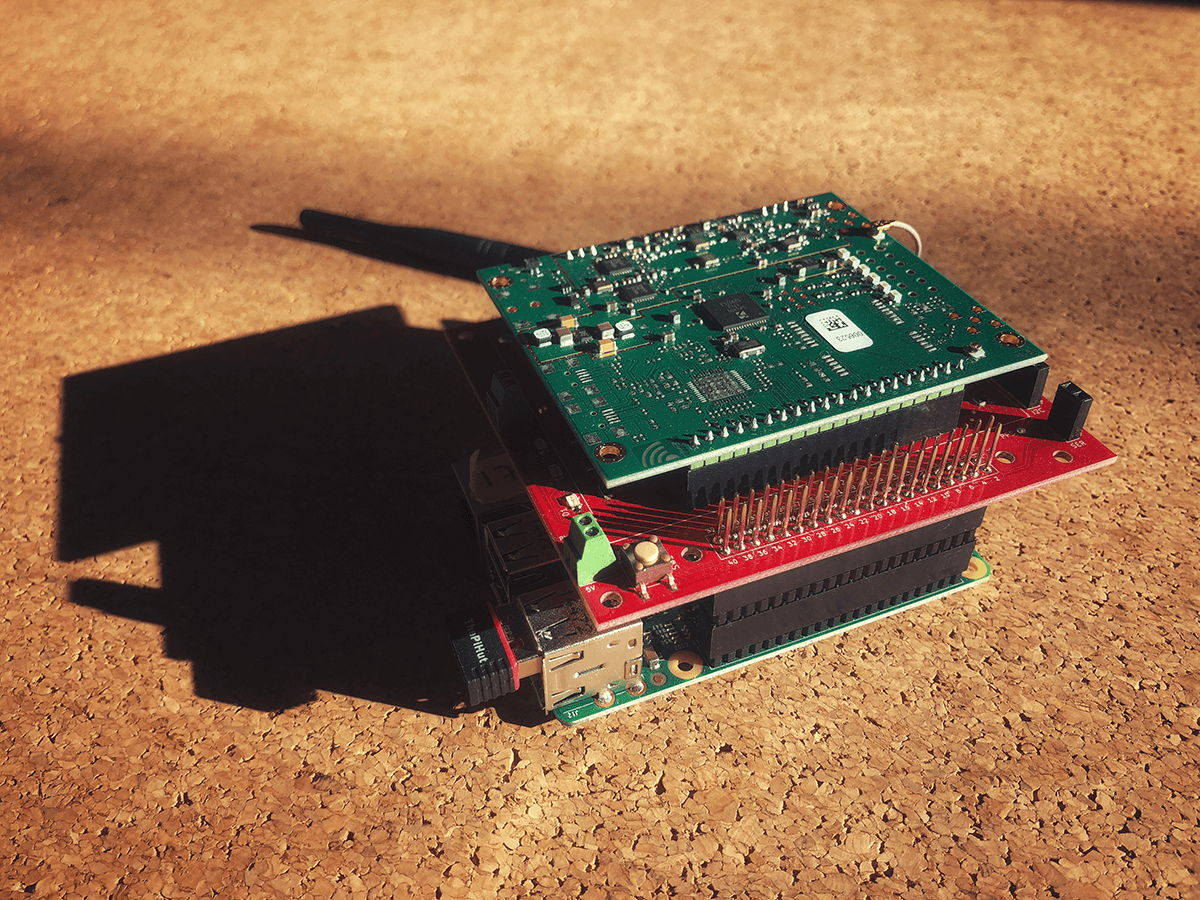 Assembled and ready to configure!
Configure and Install Software
A LoRa Gateway consists of two key software components:
- Concentrator driver
- LoRa Packet Forwarder
Our main source for configuring and installing these components on our Pi was this guide from Semtech.
The packet forwarder needs a LoRa Network Server to forward its packets to. We used the ChirpStack Gateway Bridge from the ChirpStack project. There are a few options for deploying the Gateway Bridge. We chose to install it on the Gateway.
The ChirpStack Project has a nice architecture overview which explains the bits and pieces of a LoRa network.
While going through the steps in the Semtech guide, we got stuck on the last part. When trying to run the packet forwarder we kept getting this error:
$ ./lora_pkt_fwd

...
ERROR: [main] failed to start the concentrator
After some digging around we found that:
1. The concentrator needs to be reset before each start
The SX1301 driver library comes with a script to do just that. From the backplane schematics we found that the reset PIN is connected to pin 22 (GPIO 25) on the Raspberry Pi. So we reset the concentrator like this:
$ sudo reset_lgw.sh start 25
2. sudo
The packet forwarder needs sudo rights.
$ sudo ./lora_pkt_fwd

...
INFO: [main] concentrator started, packet can now be received
Start on boot
The ChirpStack Gateway Bridge comes with a systemd service which starts the Gateway Bridge when the Raspberry Pi boots. We want the Packet Forwarder to do that too, right?
We added a lora-packet-forwarder.service to /lib/systemd/system/:
[Unit]
Description=LoRa Packet Forwarder

[Service]
WorkingDirectory=/home/lora/packet_forwarder/lora_pkt_fwd
ExecStartPre=/home/lora/lora_gateway/reset_lgw.sh start 25
ExecStart=/home/lora/packet_forwarder/lora_pkt_fwd/lora_pkt_fwd
Restart=on-failure

[Install]
WantedBy=chirpstack-gateway-bridge.service
$ sudo systemctl daemon-reload
Now the Rasbperry Pi will automatically start all the necessary software components on boot.
What’s next
This is as far as we wanted to take you in this post.
If you don’t have a LoRa Server to send the MQTT messages from the Gateway Bridge to, next step would be to set that up. The ChirpStack project is an excellent place to start.
Thanks for reading! Hope you learned something new. We know we did!